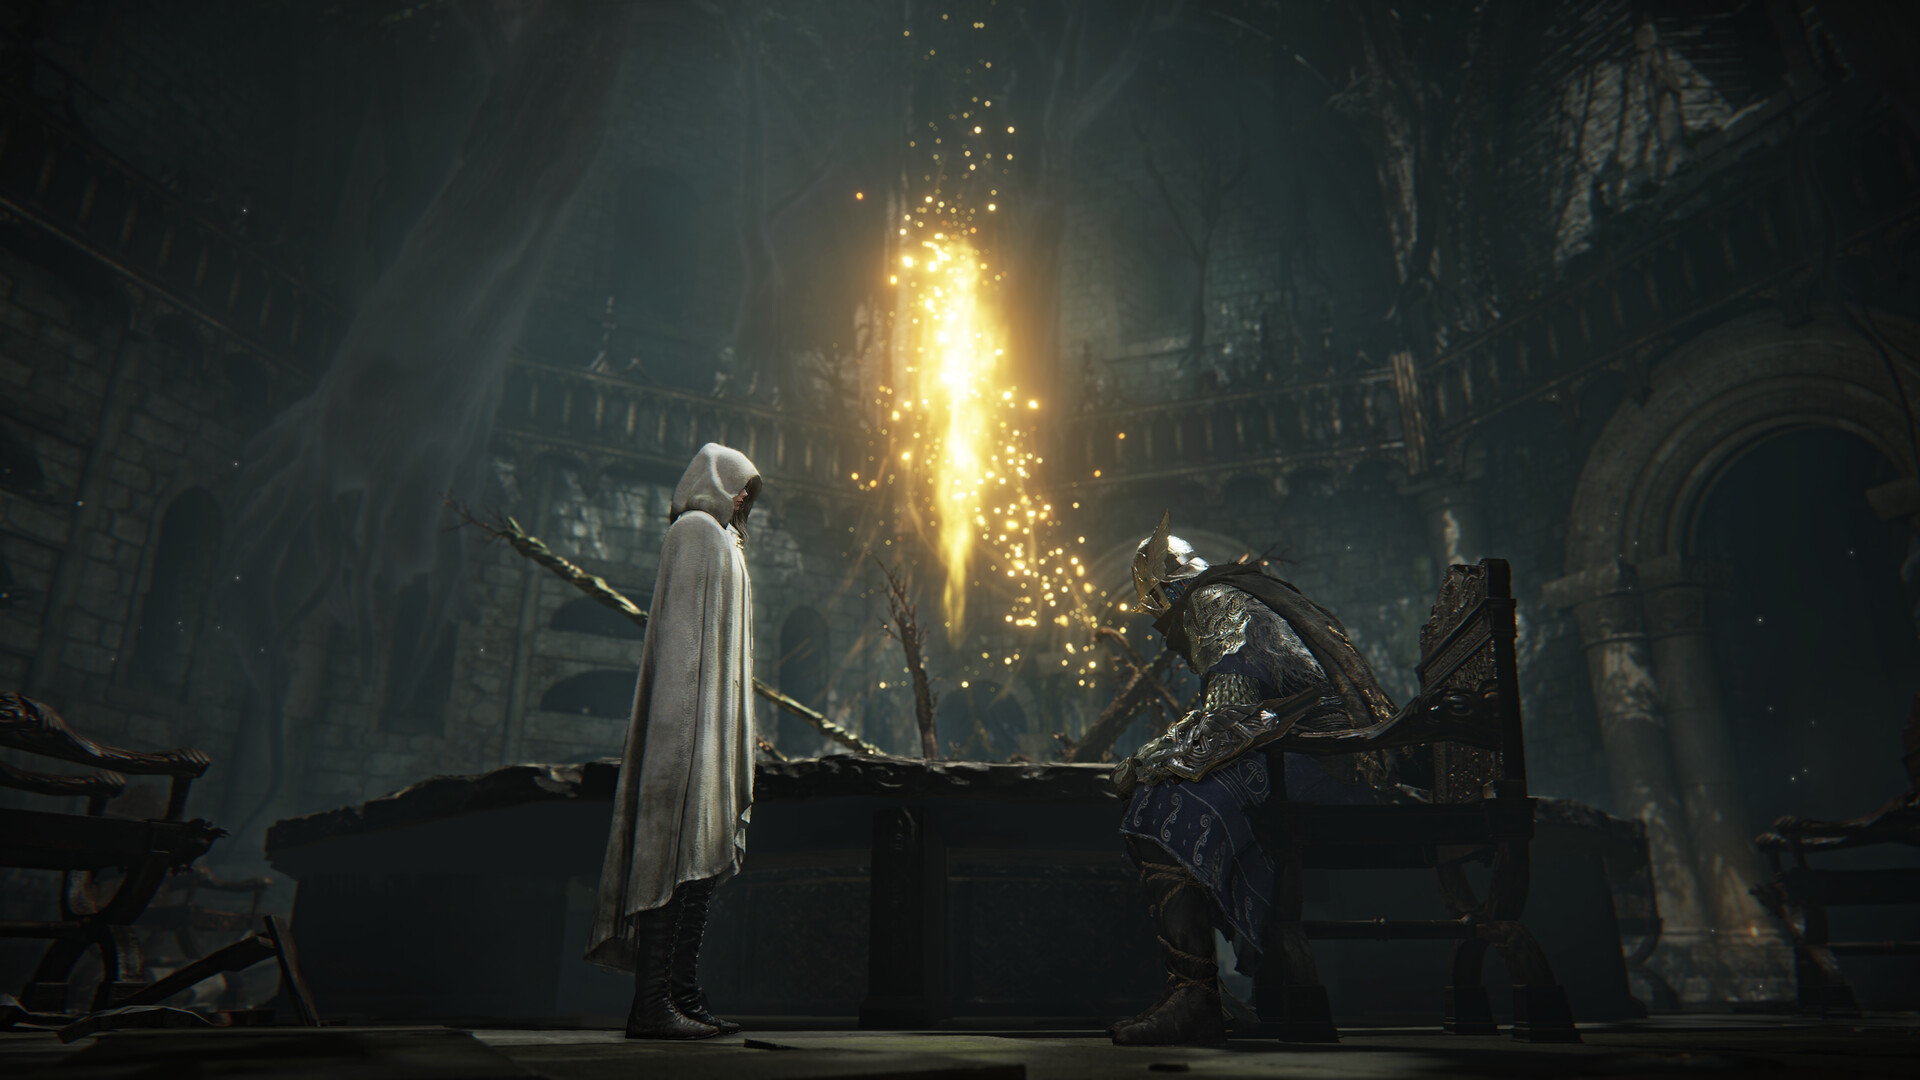
Elden Ring Nightreign is finally here, and despite the familiar locations, enemies, bosses, and weapons, you get the point, the approach to conquering the Nightlords is slightly different. Limveld is a map that remains static in many ways while changing in others, and because of the rogue-like nature of the game, you’ll always start at level 1. Here are 15 tips to gain an advantage, survive the rains and ultimately repulse the Night.
Choosing the Ideal Nightfarer
[embedded content]
Every Nightfarer can use every weapon type. There’s no restriction based on stats – as long as you’re at the right level, it’s fair game. Some characters are certainly better suited towards certain weapon types – like the Recluse for wands, incantations and whatnot because of her higher MP. However, when selecting a Nightfarer, consider the one with the most comfortable playstyle. The Executor’s Cursed Sword may look cool for deflections, but if you can’t reliably get the timing down all the time, it’s not worth it, even if transforming into a Crucible Beast is sick. Similarly, if you’re playing as a Wylder, don’t just act out the typical melee warrior role – try to dabble in ranged attacks, tanking, and magic as well to really serve as a jack of all trades.
Coordinate Ultimate Arts
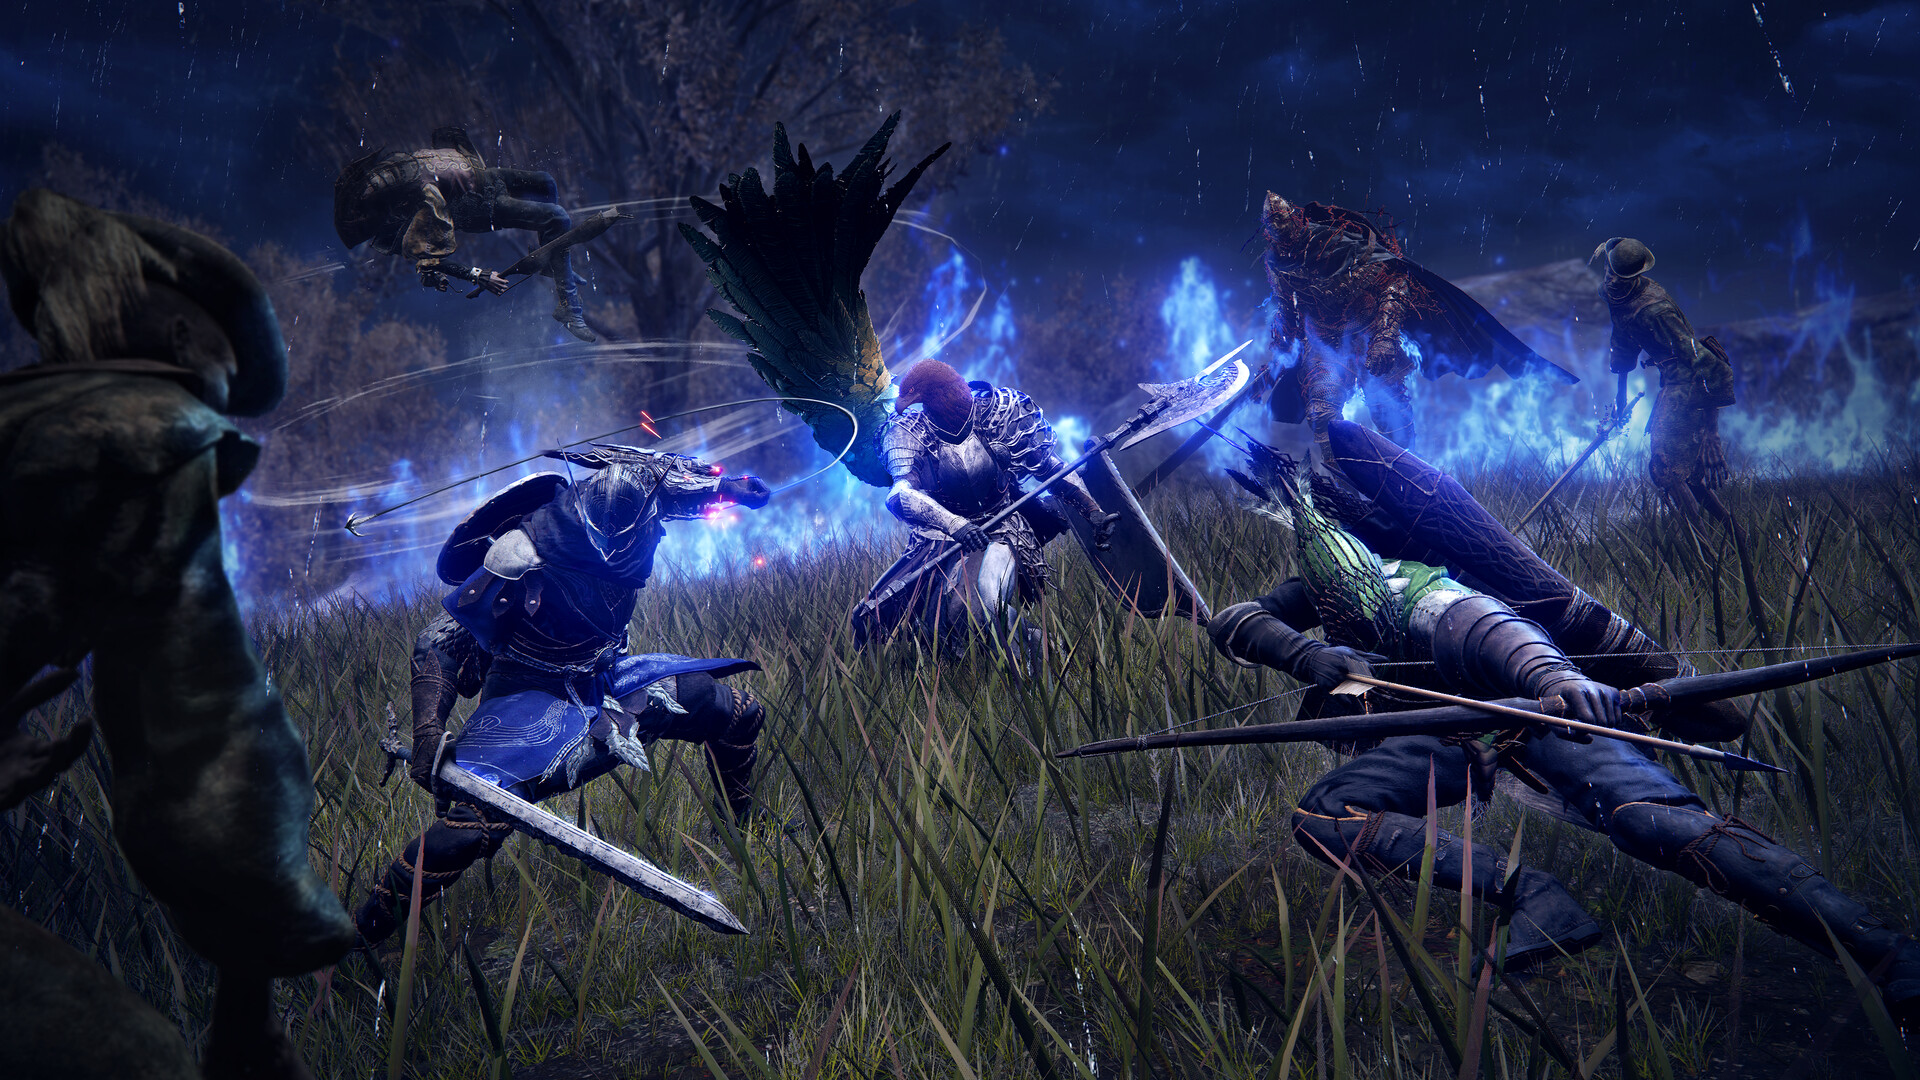
In a game without voice chat or even callouts to emphasize timing, coordinating Ultimate Arts with your allies can be challenging. One reliable combination can work wonders for defeating bosses. Have two Nightfarers – be it the Ironeye, Wylder or Raider – unleash their Ultimates, and then activate Rewind with the Duchess. You’ll deal a quick burst of significant damage, which can make the fights that much less painful. Of course, you should also figure out when to hold certain damage Ultimates for specific situations, like breaking Libra’s barrier.
Learn the Map
Loot is randomized throughout Limveld, but that doesn’t mean anything can drop from anywhere. If you open the map and select the option for a more detailed overview, you’ll see icons for different weapon and elemental damage types. While you’re not guaranteed a specific armament with a specific perk all the time, some items – like Smithing Stones to go from an Uncommon to Rare weapon – will drop 100 percent of the time from a specific boss. It’s thus vital to learn the map and get the most out of every run.
Exploit Elemental Weaknesses

Knowing where to obtain certain weapons and elemental damage types is especially important because each Nightlord has a specific weakness. Before starting a run, you can view their weakness via a small icon near their image. Learning the fight’s mechanics and staying alive are still important, but exploiting that elemental weakness will make things much easier.
Diversify Your Weapon Roster
It should go without saying, but keeping a healthy selection of weapons is important. Sure, your Ironeye may only really use a bow throughout, but if it doesn’t deal elemental damage, it’s better to pick up a melee weapon or Incantation that does. Given that higher rarities can have worthwhile passive effects, like negation to different elemental damage types, it’s all the more essential against certain bosses.
Know When to Challenge Certain Bosses
Throughout the isle, you’ll discover several roaming bosses that can be challenged, like, say, the Draconic Tree Sentinel. Do yourself a favor at lower levels: Don’t. Unless you and your team are confident in your dodging and damage, it’s a risky play. And sometimes, your damage may not be enough, which means wasting precious time. Return when you’re about level 9 or higher on Day 2 to improve your chances.
Ideal Levels for the Nightlords
Speaking of levels, the ideal level for challenging the first Nightlord, Gladius, is somewhat flexible. You can get by if you’re level 11 or 12, but that’s not the case for the others. Levels 13 or 14 would be ideal – anything less, and you’re effectively asking for trouble. They may not provide an overwhelming numerical advantage in terms of health and damage, but every little bit helps.
Relic Rites

The vendor in the Shrouded Roundtable Hold will provide emotes and Relics for you to purchase. You can even spend Murk obtained from each run on random Relics. However, purchase the Relic Rites for each character first since these unlock different loadout options. Each Relic is color-coded, so you’re forced to use certain options and leave out others. While this doesn’t exactly expand on the number you can take into battle, it does offer a wider variety of tactics (especially after obtaining some worthwhile Relics from defeating the Nightlords).
Test Weapons in the Sparring Ground
Curious how a weapon and its ability work? Want to practice your parrying or various weapon skills? The Sparring Ground is highly recommended. Not only can you select different weapons to practice with, but there are also options to adjust your level, stamina and health recovery, ability and Ultimate cooldowns, and more.
Challenging the Castle
The castle at the very center of Limveld is unchanging, and even if its enemies can be different, it’s still the spot that requires tackling at level 9 or higher. Oftentimes, you’ll run into Crucible Knights, and while they can be a pain to fight, they’ll provide tens of thousands of Runes per kill. Perfect for that final push into higher levels on Day 2.
Shifting Earth
Shifting Earth changes a section of the map into a brand new location. They’re especially harsh with high-level enemies and rough environmental conditions. For instance, the Mountaintop can inflict Frostbite and has some particularly tough Ice Dragons. Nevertheless, braving it will grant a strong resistance to Frostbite and increased damage if there’s Frostbite in the area. The Crater is perhaps the most significant though. Descend into the Forge and you can upgrade any weapon to Legendary tier, free of cost.
Complete Remembrances
When you collect enough Memory Fragments from runs, check the Journal and flip through its pages until the option “Begin Remembrance” is spotted at the bottom of a page. Upon entering it, you’ll get a personal objective, which requires heading to Limveld and completing a specific task (usually slaying special bosses and enemies). It’s worth following them through since they can provide some of the best Relics for each character.
Save Vendor Purchases for Day 2
Vendors adorn numerous spots through Limveld, but you should hold off on purchasing anything on Day 1, especially Smithing Stones and weapons. You’ll find an abundant amount of loot by simply playing and even a Smithing Stone or two if you know where to look. If you desperately need a higher rarity weapon, additional consumable slot or any kind of Wondrous Physick, spend on Day 2.
Getting More Flask Charges
Remember your first area in Elden Ring? No, not the battle with Rick or the obligatory death battle, but in Limgrave, specifically the building where you met the first vendor. Just like its predecessor, Nightreign has several such locations, helpfully marked on your map, which contain flask charges. They may occasionally have smaller enemies, but otherwise, hit them up quickly for more healing.
Easily Avoiding the Night’s Tide
The Night’s Tide won’t be the biggest run-killer, but it will cause numerous problems, especially if you’re downed before a boss fight to end the night. There are several ways to avoid it – like using Spirit Streams and, instead of facing the wall in question, going in a completely different direction to gain more distance. If you’re underground and having trouble discerning where the Tide is coming from, it’s possible to judge the distance by sound alone. Even if it’s just a few meters, you’ll know whether it’s the right way or not.
Comments are closed.